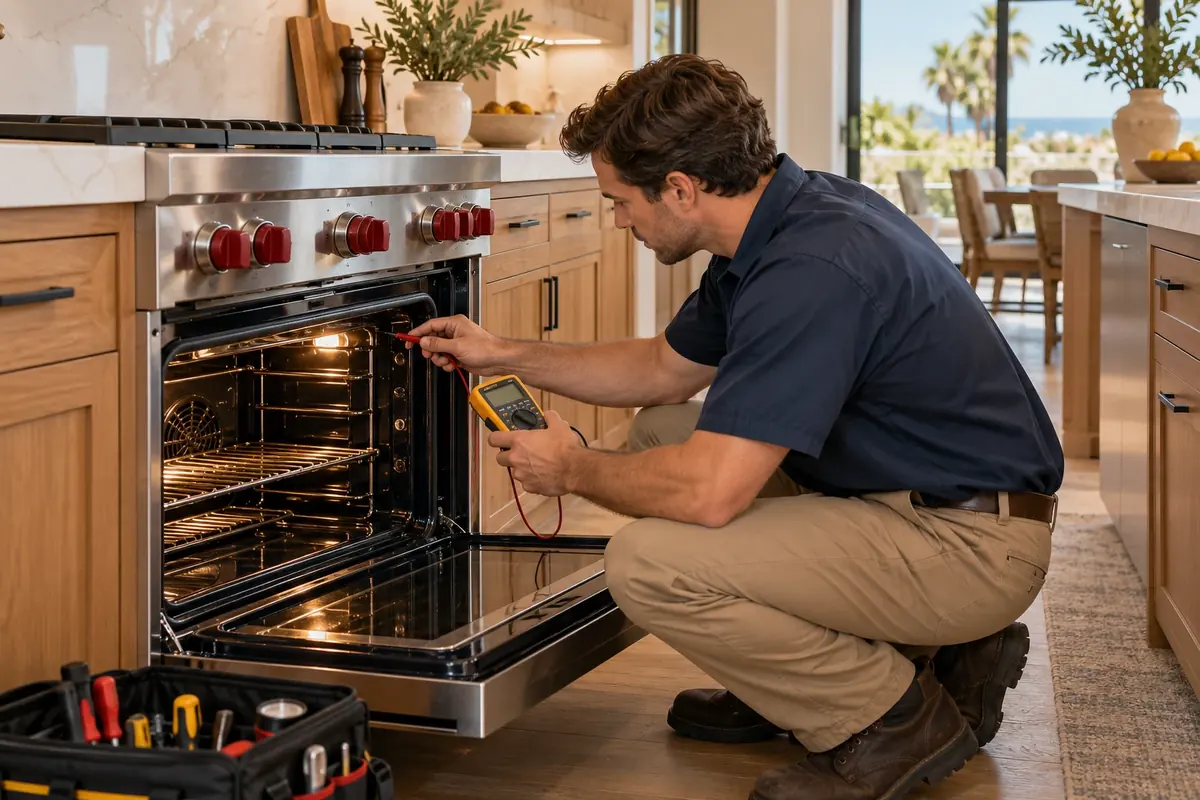
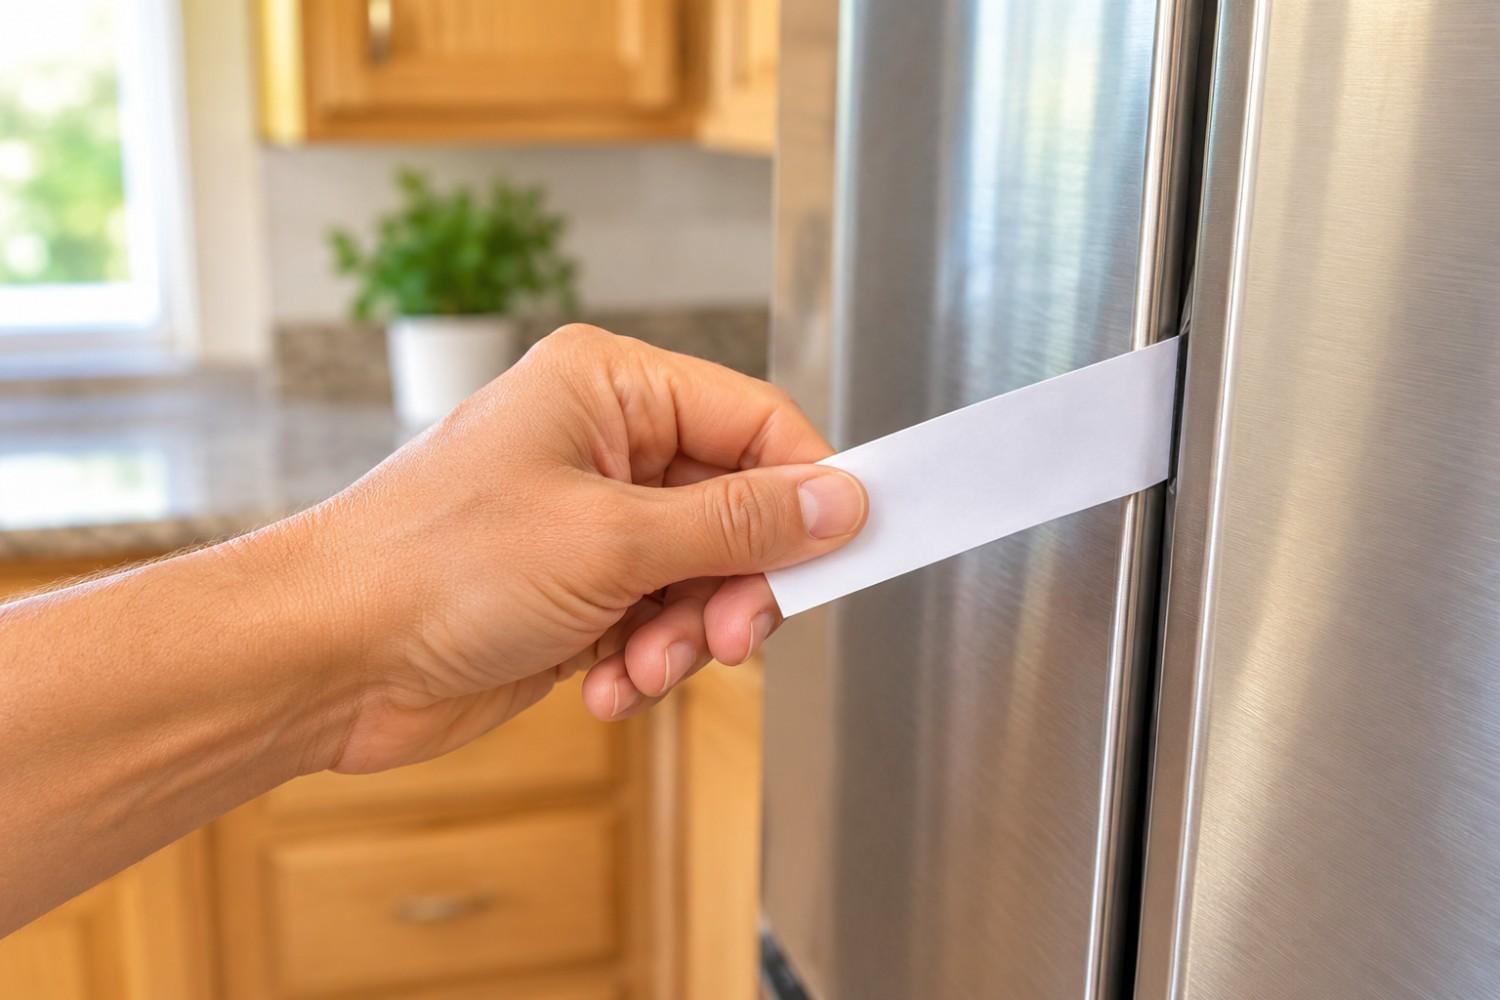
To test a refrigerator door seal, close a sheet of paper in the door so half is inside the fridge and half is outside, then pull it straight out. A healthy seal grips it with firm, even drag.
If it slides out with little resistance at any spot, the seal isn’t pressing against the cabinet there. Repeat every few inches around the door, and do the freezer door too.
The catch is that the test shows you where air can get past the seal, not why. A dirty gasket, a fridge that isn’t level, heavy door shelves or a sagging door can all fail a good seal.
A worn seal can also pass at the spots you tested and leak at one you didn’t. This guide shows you how to run three checks, read the results and decide what to do next.
The short version
- Clean the gasket, lighten the door shelves and check the fridge is level.
- Run the paper test about every six inches around each door.
- Confirm with a flashlight test and a close look at the gasket.
- Loose in one spot? Clean, reseat and check level first. Loose all round, or the rubber is hard, flat or torn? Replace it.
- Firm everywhere but still frosting or running nonstop? The seal probably isn’t the main problem.
What a door seal does
The gasket is the flexible rubber or vinyl strip around the inside edge of the door. On most household refrigerators it holds a magnetic strip that pulls it against the steel cabinet. When contact is poor, warm room air gets in, moisture turns to frost or condensation, and the compressor runs longer to compensate.
Before you test: four checks that prevent false results
Each of these can make a good seal look bad, so do them first.
- Clean the gasket and the cabinet face it presses against. Use warm water and mild dish soap, then dry both. GE’s support guidance says to avoid bleach and abrasive cleaners on gaskets. Residue can hold the door slightly off the cabinet.
- Lighten the door shelves. Heavy bottles add weight to the door. Anything that stops it closing fully will break the seal on its own.
- Check that the fridge is level. A cabinet leaning the wrong way can hang the door away from the seal along one edge. Use the leveling steps in your owner’s manual.
- Record a baseline. Put an appliance thermometer in a glass of water on a middle shelf and leave it for several hours. Note where frost or condensation appears. If the compressor never seems to switch off, our guide to why a refrigerator runs constantly covers the other causes.
Test 1: The paper test
The U.S. Department of Energy recommends this test for checking door seals. A whole fridge takes about ten minutes.
- Lay a strip of paper across the gasket so about half is inside and half outside. A dollar bill works, and so does printer paper. Use the same piece throughout so every spot is judged the same way.
- Close the door normally. Don’t slam it or hold it shut.
- Pull the paper straight out slowly and notice the resistance.
- Repeat about every six inches around the door, with extra attention at the corners. Hinge-side corners tend to take the most flexing.
- Test every door and drawer, including the freezer and, on French-door models, where the two doors meet.
- Write down each spot that feels loose.
What you should feel
- Good: firm, even drag. The paper may crinkle or tear before it lets go.
- Failed: it slides out with little or no resistance.
- The useful signal is contrast. A spot that grips noticeably less than the rest is where to start looking, even if it hasn’t let go completely.
Good at: showing where the seal presses weakly.
Can miss: a leak between your test points.
Test 2: The flashlight test
- Put a lit flashlight inside the fridge, aimed toward the gasket, and close the door.
- Switch off the kitchen lights.
- Look around the whole edge of the door. Any light you can see is a gap.
Good at: finding visible gaps in about two minutes.
Limit: it can’t measure how firmly the gasket presses. A seal can block the light and still hold too loosely to keep cold air in, so treat a clean result as a good sign, not proof.
Test 3: Look and feel
Run a fingertip along the gasket. With the door closed, move your hand slowly along the edges and feel for cold air. Look for:
- Cracks or tears, especially at the corners
- Sections that are flattened and don’t spring back
- Rubber that has gone hard or stiff
- A section that has pulled out of its channel
- Twists or ripples
- Dark mold in the folds, or sticky residue
Run all three tests. Each covers a blind spot in the others.
Reading your results
- Firm grip everywhere, supple rubber, no symptoms: the seal is fine. Retest in about six months.
- Firm grip everywhere, but frost, sweating, constant running or warm food: the seal may not be the main cause. Or the leak is where the paper can’t reach, such as a damaged corner. Recheck by eye, then read the next section.
- Loose at one spot, and it’s dirty or sticky: residue. Clean, dry and retest.
- Loose at one or two spots, rubber still soft and springy: a section out of its channel, a kink, or an unlevel or sagging door. Reseat, check level and door load, then retest.
- Loose along one whole edge, gasket looks fine: usually the fridge is out of level or the door is sagging. Level first. Hinge work on a heavy door is a two-person job or a technician visit.
- Loose at several spots or all round, rubber hard, flat or cracked: a worn-out gasket. Replace it.
- Torn, split or cracked rubber: a failed gasket. Replace it. Retesting adds nothing.
- New gasket, still loose in the same place: it may not be fully seated, may still be creased, or the door alignment may be off. Reseat it, relax creases, allow time, then call if it persists.
Illustrative example (not a real case). The paper slides out at one bottom hinge-side corner and grips everywhere else. You wipe the gasket and the cabinet face, retest, and it now holds. Residue was the problem, so no part was needed. If it still slipped, you’d check level, door load and the channel before ordering a gasket.
When a pass isn’t really a pass
The paper test only samples the spots where you put the paper. A leak at an untested point, or a section that has popped out of its channel, can slip through.
On older fridges with a door latch, Energy.gov also lists the latch as a possible cause when the paper slides out, so check that it holds the door firmly shut. If the paper grips everywhere but the freezer keeps icing up, see our guide to freezer frost buildup.
When a fail isn’t the gasket
Dirt, an overloaded door, an unlevel cabinet and worn hinges can all fail a sound seal. That’s why preparation comes first. A gasket that still fails after cleaning, lightening the door and checking level is far more likely to be the real culprit.
Is the seal even the problem?
A leaking seal shares its symptoms with other faults. Match what you see before you buy a part.
- Frost along the door opening: this tends to point to an air leak. Frost mostly on the back wall points to the defrost system.
- Condensation on the door frame or front: often warm, humid air meeting cold surfaces at a gap. Very humid weather can also cause it.
- Water pooling inside the fridge: usually not the seal. It’s most often a blocked defrost drain, though a bad gasket can contribute. See water leaking inside the fridge.
- A rising electric bill: a leak is one possible contributor among several. See faulty appliances and high electric bills.
- Food warming or spoiling early: check the thermometer first.
Which temperature to use
Use a thermometer, not the dial. The FDA recommends keeping the refrigerator at 40°F or below and checking with an appliance thermometer. The Department of Energy suggests aiming for 35 to 38°F in the fresh-food compartment and 0°F in a separate freezer. The lower target leaves a margin so door openings and warm weather don’t push you past 40.
If your thermometer reads above 40°F and the seal checks out, look elsewhere in the cooling system. Turning the dial colder doesn’t fix a leak. It just makes the compressor work harder. The seal itself doesn’t spoil food, but temperature does, so get a persistent reading above 40°F fixed promptly.
Fix it in order
Work down this list and retest after each step. Stop as soon as the seal passes.
- Clean. Use mild dish soap and warm water, with a soft cloth or brush for the folds. Dry thoroughly and avoid bleach and abrasives.
- Condition only if your manual allows. GE’s guidance suggests a thin layer of petroleum jelly on the hinge side after cleaning. Not every manufacturer mentions it, so check yours and wipe off the excess.
- Reseat. Most gaskets press into a channel on the door liner. If a section has popped out, press it back in, working from a corner.
- Level and check the door. Re-level, lighten the shelves and retest. If you’re unsure about hinge adjustment, leave it to a technician.
- Replace. Hard, flat, cracked or torn rubber won’t recover.
Don’t aim a hair dryer at an installed gasket. Some guides suggest it, but Sub-Zero’s gasket instructions warn that hair dryers can get hot enough to melt one. Heat is for a creased replacement gasket, warmed outside the unit with the dryer held 8 to 10 inches away, or the gasket can be softened in warm water. The same page says a ripped, torn or cracked gasket should be replaced.
Replace it yourself or call a technician
Getting the right gasket
- Find the model number. It’s usually on a label inside the fresh-food compartment or on the door frame. Some units hide it behind the bottom grille.
- Order the manufacturer (OEM) gasket for that model and door. Fresh-food and freezer doors often use different gaskets.
- Be cautious with universal kits. Fit and magnet strength are the risk. On Sub-Zero units we only fit authorized gaskets.
- Let a creased gasket relax before fitting. Then give it time to settle against the door.
What it costs
- Gasket only: the price varies widely with model, door size and brand. Check the price for your exact model number before you decide.
- Professional replacement: around $180 for a standard side-by-side and around $280 for a Sub-Zero. We quote a flat rate after our $89 diagnostic, which is waived if you go ahead. Our refrigerator repair page lists typical costs for other common faults.
A quick sanity check. Our rule of thumb is that a repair costing more than half the price of a new fridge, on a unit older than about eight years, usually tips toward replacing. A basic Whirlpool runs $700 to $1,400 new.
A $180 gasket is about 13 to 26 percent of that. A leaking seal on its own is rarely a reason to replace the fridge. Our guide to whether an old appliance is worth repairing explains the full rule.
DIY or hand it off?
Reasonable to do yourself
- A freestanding fridge with an intact gasket channel
- The OEM gasket for your exact model and door in hand
- You’re comfortable pressing a gasket into its channel without stretching it
Better to hand off
- A built-in or premium unit
- A new gasket that still leaks in the same place
- A sagging door, damaged frame or hinge problem
- A firm seal with persistent frost, condensation or constant running
- A fresh-food reading above 40°F
- You can’t identify the model or the right part
Built-in and premium refrigerators: judge by symptoms
Generic advice can mislead on Sub-Zero and similar built-ins, which are built to seal tightly.
- Sub-Zero says reduced door suction isn’t a concern as long as there’s no temperature change, condensation, frost or ice buildup, and no service messages or error codes.
- For a door that seems to seal poorly, its checklist is to confirm the condenser is clean, inspect the gasket for tears or ripples, and check the unit is level.
- A new gasket needs time to form to the door.
The paper test is still a reasonable way to find a localized gap. On these units, though, symptoms are the better judge of whether the seal is doing its job. Our Sub-Zero maintenance guide for Greer Ranch homeowners explains what gasket wear looks like on older units and why we use authorized gaskets only.
Keeping a good seal good
- Wipe the gasket whenever you wipe the shelves, and clean the folds more thoroughly every few months.
- Clean spills right away, especially anything sugary or greasy.
- Don’t overload the door shelves.
- Retest every six months, or whenever frost, condensation or temperature drift appears.
- Check a garage or second fridge first. The hotter the surrounding air, the more a leak costs. Our guide to energy-wasting habits in Murrieta homes covers the garage fridge trap.
There’s no fixed gasket lifespan. Sticky residue and heavy use tend to wear one faster. On our refrigerator repair page we note that loose seals are common on refrigerators eight years old and up.
If you’d rather have it checked
If the tests point to a worn gasket and you’d rather not source and fit one, or your fridge is a Sub-Zero or another built-in, we can confirm the cause and quote the repair. A firm seal with symptoms that won’t go away needs a diagnosis too.
If you call, it helps to have:
- Your fridge’s brand and model number
- Which door or drawer failed, and where
- Where frost or condensation shows up
- Your thermometer reading
The diagnostic visit is $89, waived if you go ahead with the repair. You get a flat-rate quote before any work begins, and repairs carry a 90-day parts and labor warranty. We work Monday to Saturday, 8 am to 5 pm, and calls before 11 am can usually be seen the same day in Murrieta, French Valley and Winchester.
Call or text (951) 592-3670, or use our contact page. We also service built-in units through our Sub-Zero repair service.