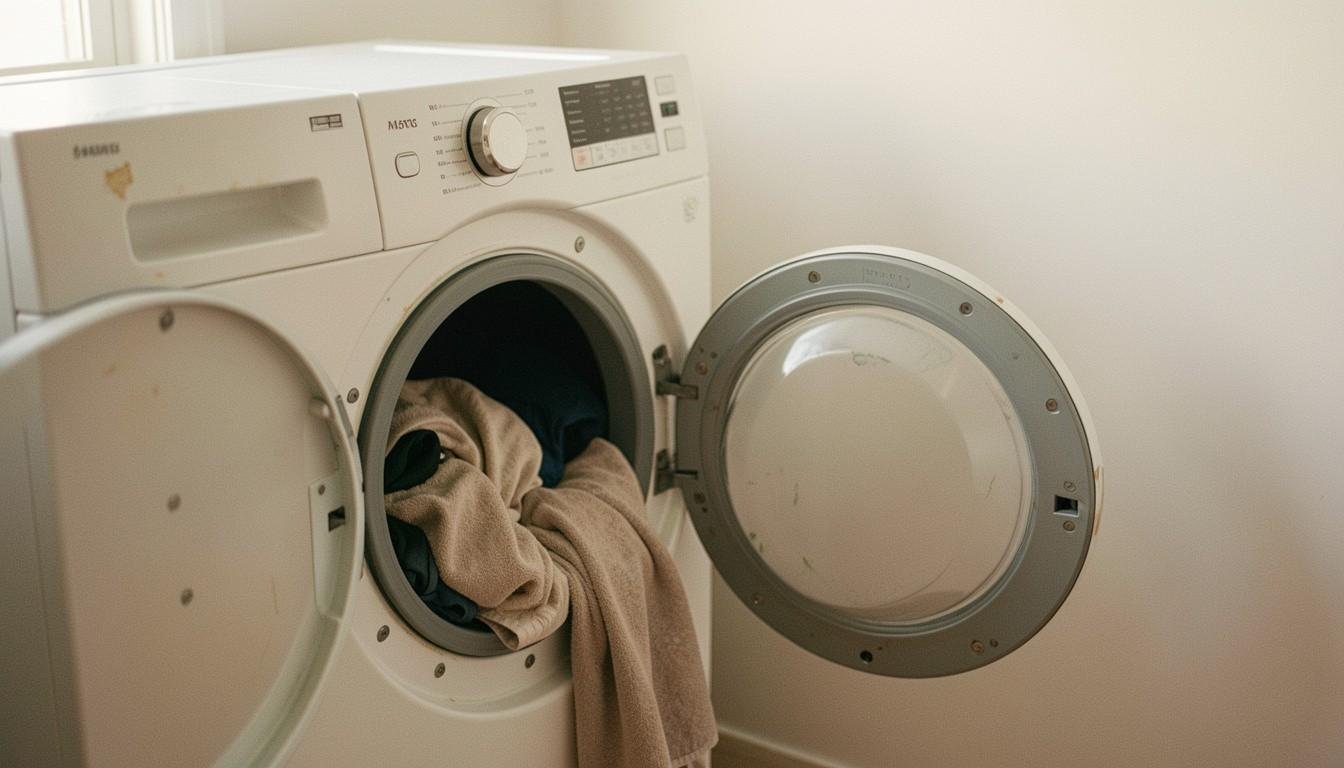
You start a load of laundry, wait for the cycle to finish, and pull out clothes that are still damp instead of dry. So you run it again. If this has become your normal routine, you’re not imagining things, and you’re definitely not alone.
A dryer that needs two cycles to finish one load is a common complaint among homeowners, and it usually creeps up slowly rather than happening all at once.
The good news is that most causes are fixable, and several of them cost little to nothing to correct. This guide walks you through why it happens, how to test for the real cause, and when it’s time to bring in a professional.
Is This Actually a Problem, or Just Normal Wear?
Before you assume the worst, it helps to know what normal drying performance actually looks like so you can tell whether your dryer has genuinely declined.
How Long a Dryer Cycle Should Normally Take
A standard load of laundry typically dries in one cycle, usually somewhere between 35 and 50 minutes depending on fabric type and load size. If you’re consistently running a second full cycle just to finish the same load, that’s outside normal range.
Signs Your Dryer’s Performance Has Genuinely Declined
Watch for drying times that keep creeping up week after week, a laundry room that feels noticeably warmer or more humid than usual, or clothes that come out warm to the touch but still damp. These are all signs the problem has moved from occasional to consistent, and they’re worth paying attention to alongside other early warning signals across your home, covered in this list of signs your appliances are about to break down.
Top Reasons Your Dryer Takes Two Cycles to Dry
Once you’ve confirmed this isn’t just a one-time fluke, it helps to understand what’s actually causing it. Here are the most common culprits.
A Clogged Lint Filter
This is the most common and easiest cause to fix. A lint filter that isn’t cleaned before every load restricts airflow, and even a partially blocked filter can noticeably extend drying time.
A Blocked or Restricted Exhaust Vent
Lint, debris, and even small nests can build up inside the vent over time, trapping hot, moist air with nowhere to go. This is widely recognized as the single biggest cause of dryers needing multiple cycles.
A Failing Heating Element or Thermal Fuse
If your dryer isn’t generating enough heat, clothes simply won’t dry properly no matter how long the cycle runs. This usually shows up gradually before it fails completely.
Malfunctioning Moisture Sensors
Modern dryers use sensor bars inside the drum to detect when clothes are dry. When these sensors misread moisture levels, the dryer can shut off a cycle too early, leaving clothes damp.
This kind of built-in smart feature is genuinely useful when it works correctly, though it also adds a component that can fail, a tradeoff covered more broadly in this comparison of smart appliances versus traditional models.
Dryer Sheet Residue Coating the Sensor Bars
Dryer sheets and fabric softener leave behind a thin film that can coat the sensor bars over time, causing false “dry” readings even when clothes are still wet.
Overloading the Drum
Packing the drum too full prevents clothes from tumbling freely, which blocks proper air circulation and forces the dryer to work much harder than it should.
Using the Wrong Cycle or Heat Setting
Selecting a low-heat or air-only cycle for heavy fabrics like towels or jeans simply won’t generate enough heat to finish drying in one run, no matter how well-maintained the dryer is.
Why Blocked Vents Cause the Most Cases (and the Biggest Risk)
Since vent blockage is responsible for the majority of two-cycle drying complaints, it deserves a closer look, especially because it carries risks beyond just inconvenience.
How Restricted Airflow Traps Moisture Inside the Drum
When the vent can’t move air freely, the dryer keeps generating heat, but the humid air has nowhere to escape. That trapped moisture is exactly why clothes stay damp even after a full cycle.
Why This Is a Fire Hazard, Not Just an Inconvenience
Lint is highly flammable, and a blocked dryer vent is one of the leading causes of house fires. If your dryer takes noticeably longer to dry and feels hot to the touch, this isn’t something to put off.
Electrical and heat-related appliance issues deserve the same urgency, and this guide on why you shouldn’t ignore a shocking appliance covers similar warning signs worth taking seriously.
Heat and Humidity Buildup That Signals a Blocked Vent
A laundry room that feels unusually warm or humid during a cycle, combined with a “hot” smell, often points directly to restricted airflow rather than a load size or setting issue.
How to Test What’s Actually Causing It
Before assuming you need a repair, these three simple tests help you narrow down the real cause in just a few minutes.
Test 1: Check Airflow at the Lint Filter Opening
Run the dryer for about 10 minutes, then feel the air coming from the lint filter opening. It should feel very warm. If it’s only slightly warm, airflow or heat generation is likely the problem.
Test 2: Run a Timed Cycle Instead of an Automatic Sensor Cycle
Switch to a timed dry setting rather than an automatic sensor cycle. If clothes come out fully dry on the timed setting but not on sensor cycles, the moisture sensors are the likely culprit.
Test 3: Inspect the Exterior Vent Flap While the Dryer Runs
Step outside and watch the exterior vent flap while the dryer runs. It should open wide and release a steady stream of warm air. A flap that barely opens is a strong sign of a blocked vent.
DIY Fixes You Can Try Before Calling a Technician
Once you’ve identified the likely cause, several of these fixes are simple enough to handle yourself, often in under 30 minutes.
Deep Clean the Lint Filter and Trap Housing
Beyond wiping the mesh screen, lint also builds up in the trap housing underneath it. Use a long-handled lint brush every few months to clear buildup the screen alone doesn’t catch, and wash the screen with warm water if you notice water beading on the surface instead of soaking through.
Clear and Inspect the Vent Hose
Unplug the dryer, pull it away from the wall, and check the vent hose for crushing, kinks, or disconnection. Use a vacuum or a flexible brush to clear out any trapped lint inside the hose itself.
Clean the Moisture Sensor Bars
Locate the metal sensor bars inside the drum, usually near the lint filter opening, and wipe them down with rubbing alcohol to remove any residue buildup from dryer sheets.
Adjust Your Load Size and Cycle Selection
Keep loads to around 75 percent of the drum’s capacity so clothes have enough room to tumble properly, and match your cycle setting to the fabric type rather than defaulting to the same setting every time.
When the Problem Points to a Mechanical Repair
If you’ve worked through the DIY fixes and the problem continues, these signs point to something that likely needs professional attention.
Weak or Barely Warm Airflow After Cleaning
If you’ve cleaned the filter and vent thoroughly but airflow still feels weak, the issue may be with the blower fan or a deeper obstruction that’s harder to reach on your own.
A Thermal Fuse That Keeps Tripping After You’ve Cleared the Vent
If your dryer keeps shutting off unexpectedly even after the vent is clear, a failing thermal fuse is a likely cause, and this typically requires diagnosis by a technician.
A Dryer That Runs Hot to the Touch
A dryer that feels unusually hot on the outside, especially around the back or bottom panel, needs to be looked at promptly rather than run again.
Unusual Noises From the Blower Fan or Motor
Grinding, squealing, or rattling sounds during operation often point to a mechanical issue with the fan or motor rather than something cleaning alone will fix. New or unfamiliar noises are always worth paying attention to, and this rundown of sounds your appliances should never make can help you figure out what you’re actually hearing.
What Two-Cycle Drying Is Costing You
Beyond the obvious inconvenience, running your dryer twice for every load adds up in ways that are easy to overlook.
The Extra Electric or Gas Cost Per Load
Every extra cycle uses additional energy, and over weeks and months, those extra cycles show up as a real, measurable increase on your utility bill. If your energy costs have been climbing and you’re not sure why, this guide on why your electric bill is so high breaks down how faulty appliances often play a bigger role than people expect.
Added Wear on the Heating Element and Motor
Running the dryer longer than necessary puts extra strain on the heating element, motor, and blower fan, which can shorten their lifespan and lead to earlier component failures.
Why Ignoring It Leads to a Bigger Repair Later
A simple lint or vent cleaning today is far less expensive than a heating element replacement down the road. Catching this early is one of the clearest examples of how small maintenance habits protect you from bigger repair bills, a pattern covered more broadly in this guide on the average lifespan of major home appliances.
Repair Costs for Common Causes
Once you know what’s actually wrong, cost becomes the next natural question. Here’s a general idea of what factors into pricing.
Cost to Clean or Replace a Vent System
Professional vent cleaning is typically one of the more affordable services, while a full vent replacement costs more depending on length and accessibility.
Cost to Replace a Heating Element or Thermal Fuse
These repairs usually cost more than a vent cleaning since they involve accessing internal components and replacing specific parts.
Cost to Repair or Replace Moisture Sensors
Sensor-related repairs vary depending on whether the fix is a simple cleaning or an actual sensor replacement, which requires more diagnostic work.
When Repair Costs Signal It’s Time to Replace the Dryer
If your dryer is already older and facing multiple issues at once, it’s worth weighing repair costs against the dryer’s age and remaining lifespan. This guide on whether it’s worth repairing your old appliance or replacing it can help you think through that decision.
How to Prevent This From Happening Again
A few simple habits go a long way toward keeping your dryer performing the way it should.
Clean the Lint Filter Before Every Load
This takes just a few seconds and remains the single most effective habit for preventing airflow problems from building up over time.
Schedule an Annual Vent Cleaning
Even with regular filter cleaning, lint accumulates inside the vent system itself. An annual professional cleaning catches buildup you can’t easily reach on your own.
Wipe Down Sensor Bars Periodically
A quick wipe with rubbing alcohol every few months keeps sensor bars accurate and prevents dryer sheet residue from causing false readings.
Follow Recommended Load Sizes
Resist the urge to squeeze in one more towel. Keeping loads at a reasonable size protects both drying performance and the mechanical components doing the work.
When to Call a Professional Appliance Repair Technician
Some causes go beyond what’s safe or practical to handle yourself, and knowing when to stop troubleshooting matters just as much as knowing how to start.
You’ve Cleaned Everything and the Problem Persists
If you’ve cleaned the filter, cleared the vent, and wiped the sensors, and drying time still hasn’t improved, a technician can pinpoint the actual mechanical cause instead of you guessing further.
You Notice a Burning Smell
A burning smell during operation is not something to wait out. Stop using the dryer and have it inspected right away, since this can indicate a serious electrical or mechanical issue.
The Vent Run Is Long, Hidden, or Hard to Access Yourself
Some vent systems run through walls, ceilings, or long distances to an exterior wall, making a thorough cleaning difficult without the right tools and experience. Working with a repair company that knows the local homes and vent layouts in this area makes a real difference, something covered in this guide on finding a trustworthy appliance repair company in Riverside County.
A dryer that needs two cycles to finish a single load is frustrating, but it’s rarely a mystery once you know where to look. Start with the simple checks, like the lint filter and vent, since those solve the majority of cases.
If the problem continues after that, it’s a clear sign something mechanical needs attention, and catching it early keeps a small fix from turning into a bigger repair bill.
The team at Appliance Repair Murrieta has helped homeowners across the area diagnose everything from simple vent blockages to failing heating elements. If you’d rather have a technician take a look than keep guessing, reach out to our team and we’ll get your dryer back to drying in one cycle.